How To Create Light Writing
Light writing is a form of stop motion animation and is created by capturing various still images and placing them together. The technique has become increasingly popular in recent years. Its use in television adverts had seen a huge increase in its popularity and usage. It is a really creative way to share and send a personal message. It’s simple and easy to do and in this article we show you how you can carry out this effect.
You will need a digital camera with an adjustable exposer to create light writing. You will need to be in a dark area to carry this technique. You can either use your room and turn the lights off, or be outside at night. To show some background in your photos you can use street lighting, or illuminate some objects in the background, such as trees.
Place your camera around 10-15 feet away from where you will be writing. Use a tripod to keep the camera steady. Check that your picture will be in focus first using the regular shutter speed. If you are happy with the focus and the angle then set your shutter speed to around 20 seconds or longer. This will depend on how much you have to write and how quickly you can do it. F-stop will need to be set at around 5.6. Put the shutter on timer for however long it takes to walk 10 to 15 feet away.
Then grab your light source and start writing! The most common source for light writing is a flash-light, although you can use pretty much any light source. Using LED flashlight will give your photos a colourful look or you could use glow-sticks for a cheaper alternative.
Go quickly to get the best effect. Try not to shine the light source directly at the camera as this may create a blur in your photos. To start a new line simply turn off your flash-light until you get to where you want to start again. If you’re using a different light source, just cover it up with your hand. Make sure not to turn on your lights until your camera has stopped shooting as this will ruin your photos.
Although this technique is really simple to carry out it may take some experimentation to get the perfect shot. You can experiment using different settings in your camera as well as different light sources. Have fun!
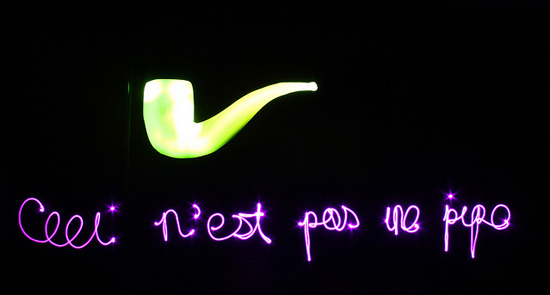
Check out some great examples below:


