Top 10 Last Minute Christmas Gift Ideas For Photographers In 2011
It’s that time of year again when we look at the calendar and say “Oh sh*t”!, time is running out to find Uncle Lou a gift. Good thing he LOVES…
It’s that time of year again when we look at the calendar and say “Oh sh*t”!, time is running out to find Uncle Lou a gift. Good thing he LOVES…
This is a story that has been making the rounds over the past couple days and it’s certainly provided for a great discussion across forums about the value of art. …
Whether you like it or not, a photography revolution is taking place with the proliferation of cell phone cameras particularly the iPhone. The ease and convenience of snapping (an increasingly…
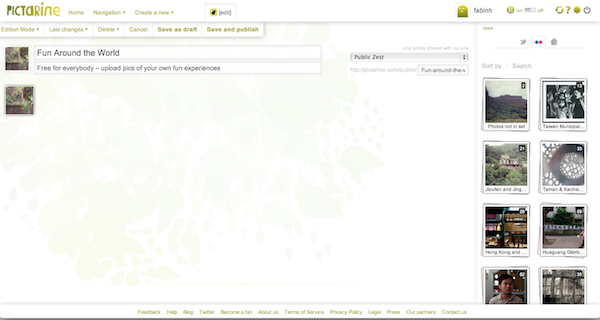
Pictarine.com is a photo sharing website that combines all your accounts across the web into one format. You can access your accounts on Facebook, Flickr, Picasa, Twitter, Instagram, Picplz, Dropbox…
Many know Steve McCurry’s pictures, most notably that certain most famous one titled Afghan Girl, after what at that time was known about the subject of the picture. But then…
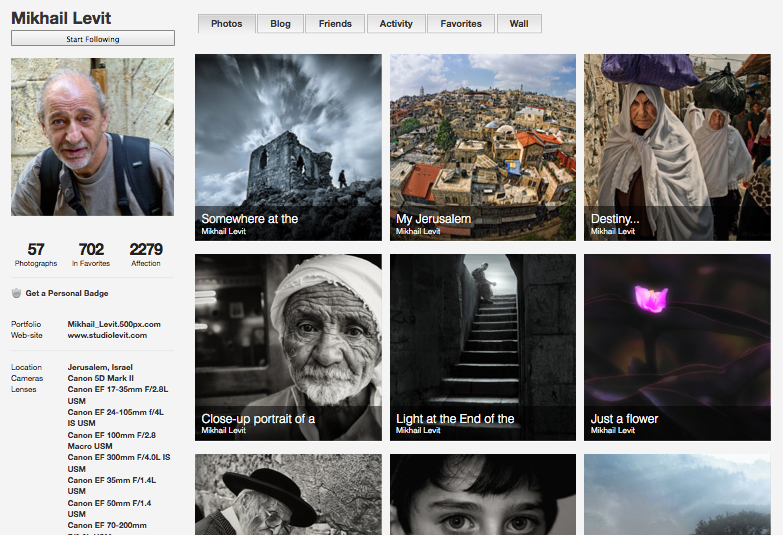
Founded in 2003 by two Toronto-based photographers, 500px.com is a photo-sharing service geared towards professional photographers. Starting as a LiveJournal photoblog, 500px is actually one of the oldest photography communities…