After we discussed what makes manual photography such a relaxing and creative activity in the last post about manual SLRs, this time I want to share some tips and tricks on how to get more familiar with your manual SLR.
Having these things in mind should help you better understand how to use that (hopefully) fine piece of equipment in your hand, while you are either shooting pics outside, or – and this might be the harder and more unappealing part for many – do your training at home.
Let’s find out what there is you can do to become a faster, better and more accurate photographer on the SLR!
Train your manual focusing abilities
While manually focusing moving objects, you might find that it is hard for you to keep the object in focus all the time while waiting for the right moment to press the shutter. A good way to become better at this, is to tie a nicely visible object (average ball for the more confident; balloon for slower friends – notice the difference in speed) to a string and hang it down from your ceiling. Now swing it back and forth hard enough to have some time to train focussing. Keep it in focus all the time while it swings!
So now that you have seen how hard it actually is, go and try yourself… 🙂
Play with the exposure settings
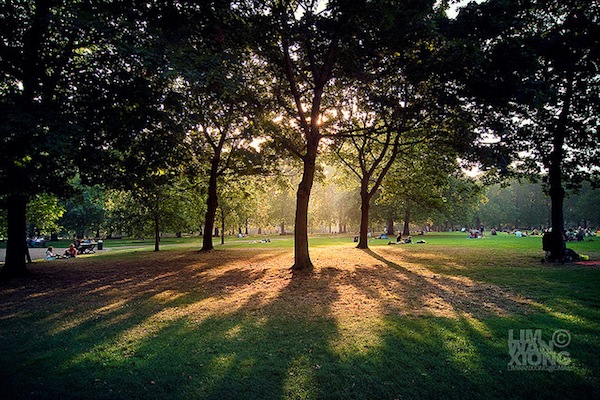
Force yourself to pay attention to the exposure indicators in the rangefinder (mostly those would be +/0/-) while you are walking, preferably in an area where there is a big contrast between shadow and light. Keep the exposure value at ‘o’ all the time. Like this you can find out how the light meter of your cam works. Try out different shutter speeds and f-stops to get the same result (exposure value of ‘0’).
Use your right eye to look trough the rangefinder
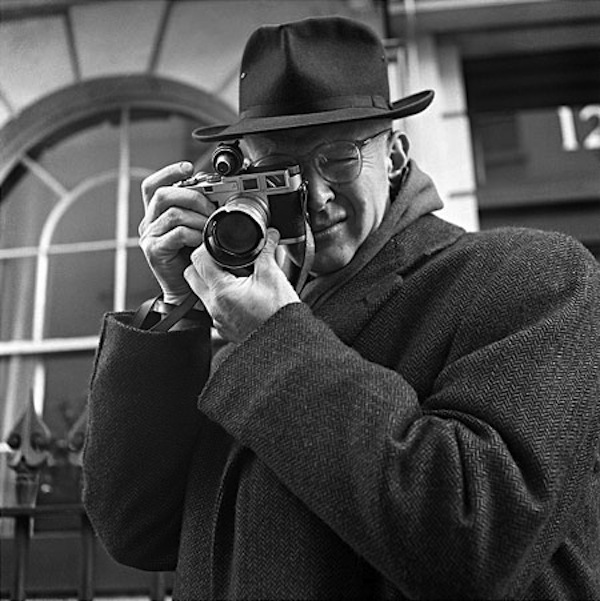
You might think, that this is an obvious one, but it is very important though. Using the right eye (as opposed to the left) enables you to keep the camera on the eye all the time while moving around and dodge obstacles in more difficult locations as the left eye can still see. Due to the built of most cams, when using the left eye, the right eye would be covered by the body and unable to see. Use this advice and never miss a single good shot!
Find the right exposure for different situations
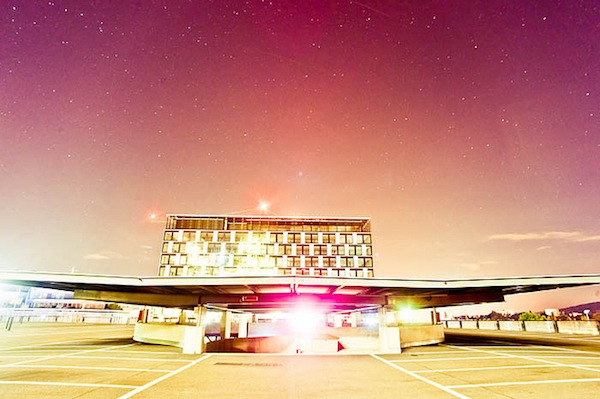
In addition to just playing around with the exposure settings as described above, you should also compare the difference in outcome in your pics. When you take a picture, take the same frame three times: slightly underexposed, exposure value ‘0’ and slightly overexposed. Take the same frame with large aperture (fast shutter speed) and also small aperture (slow shutter speed) to see the difference. Get the pics developed and see what works best for you. Sometimes “wrong” exposure makes up for some pretty cool stuff…
Do the paperwork
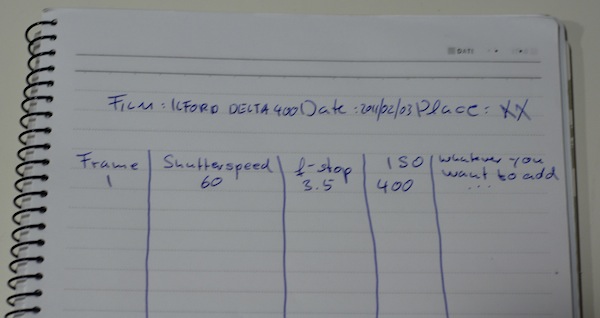
Since there is no metadata in SLR pics, write down the exposure settings for each frame. I know it’s a hassle, but once you accumulate some data like this, you can compare your pictures and you will notice patterns that can help you understand why certain pics were a success and why others didn’t come out alright.
Implementing all these tips means a lot of hard work and time, but will definitively lead to fast progress. So start slowly and don’t overdo it to not get annoyed to fast and stop altogether… we don’t wanna make you hate your camera here 🙂
For all those who have questions or want to share their experiences, feel free to do so in the comment section below!


Pingback: Photo reading this week | CorrectedColors