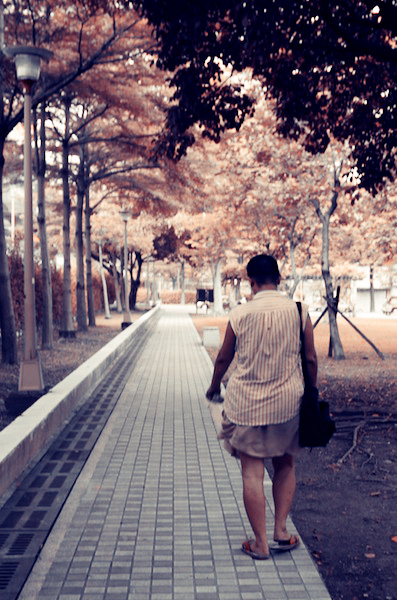

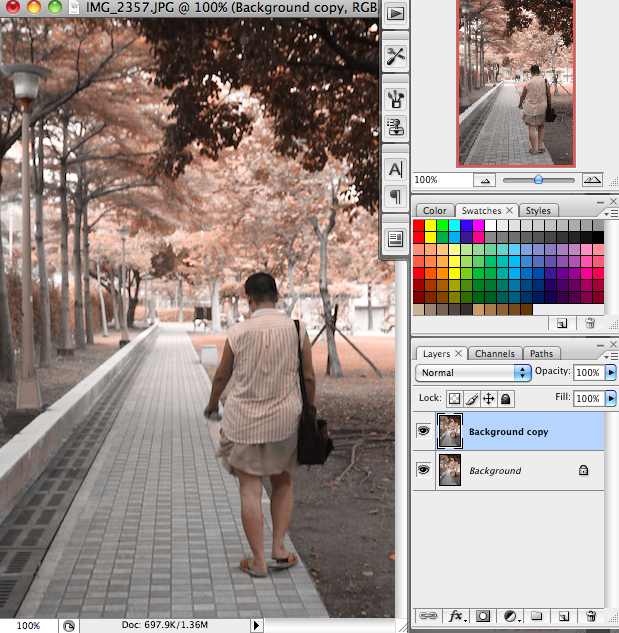
This simple tutorial would add an orange tinge to any photo, giving it an Autumn effect. The tutorial itself isn’t hard, but it is a little bit tedious I have to admit. By the end of it, you would be very familiar with layers and using the blending mode. The photo I will be using for this tutorial is this one:

Step 1
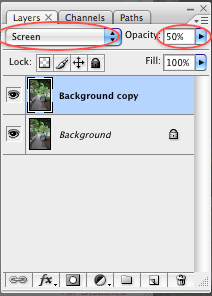
Duplicate the background layer. Set the background copy layer to Screen mode with 50% opacity.
Step 2
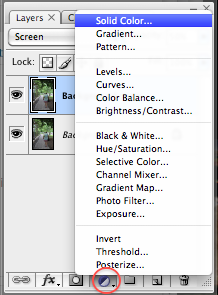
Create a new fill layer and select Solid Color.
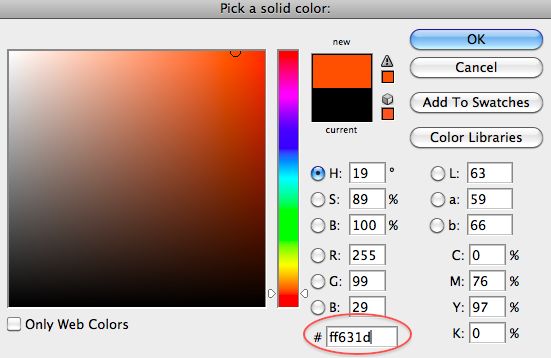
Select a reddish, orange color, such as: #ff631d
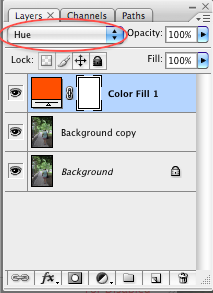
Now set the Color Fill layer to Hue.
Step 3
Now, combine the layers together. Simply go to
Layer > Merge Visible
Then, duplicate the layer again. You should have something like this.
Step 4
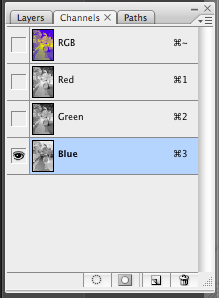
Go to the Channels tab and click on the Blue filter.
Invert this layer only by holding Ctrl + I.
Now, go back to the Layers tab. Set it to Soft Light and opacity to 40%.

Once you’ve done all that, repeat step 3 by merging all visible layers and then duplicating the background layer again. Then, select the top layer, select Soft Light again and set opacity to 40%. Your image should look something like this now.
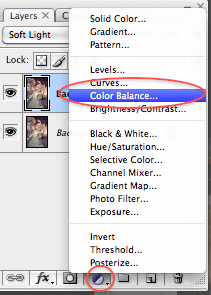
Step 5
Now, you’re nearly there. Create a new Color Balance layer, found under the adjustment layer button.
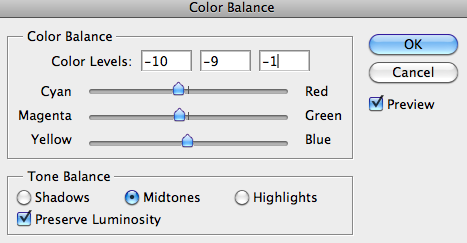
Now plug in the following numbers for:
Midtones: -10, -9, -1
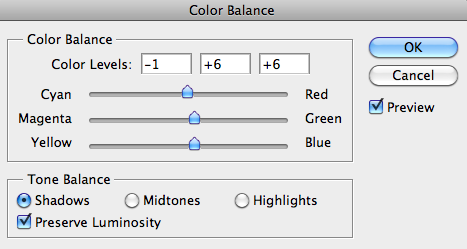
Shadow: -6, 1, 1
Step 6
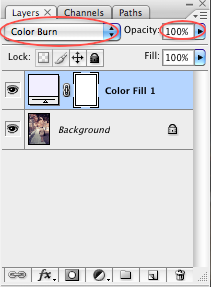
Merge all visible layers again. Then, create another fill layer, like what you did you in the first step. This time, fill the color with: f1f0ff.
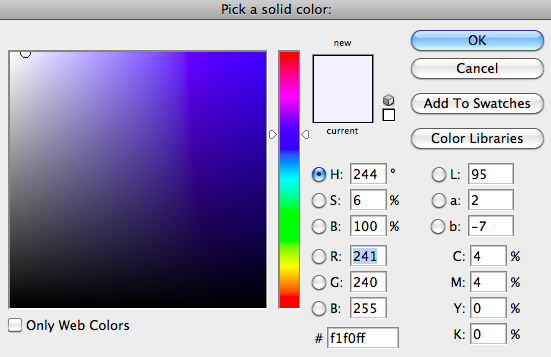
Now, set the Color Fill layer to Color Burn, with opacity 100%.
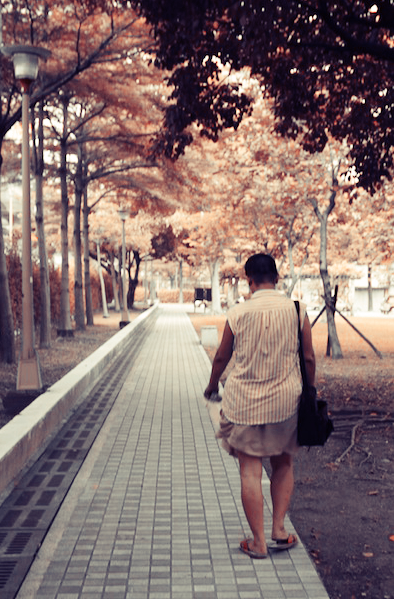
And you’re done!