Lomo Effect in Photoshop: An Easy 3-step Tutorial
Now you can convert any digital photo into a Lomo-esque photograph in a matter of minutes, thanks to Photoshop and our simple and easy three-step tutorial.
Photos take with the Lomo have characteristics like over-saturated colors, vignette and sometimes blurred snapshots. We can replicate these effects easily in Photoshop.
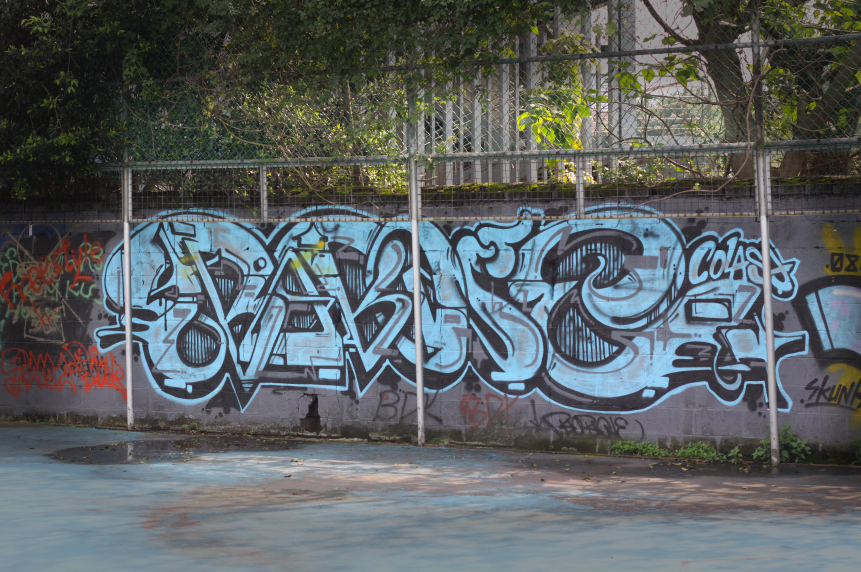
Firstly, choose a photo with some bold colors and open it up in Photoshop. I’ve chosen this photo of a graffiti wall:

I’m going to show you how to turn the above photo into something cooler like this:

1.) Creating the Vignette Effect
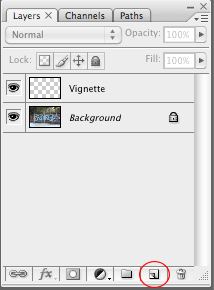
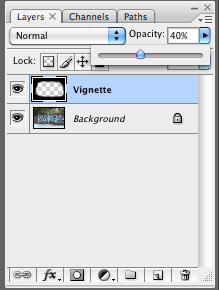
Create a new layer by clicking on the folded page icon as shown. Call this layer Vignette.
Click on the Vignette layer and then the lasso tool. Make sure you have Feather at the top set to around 60px
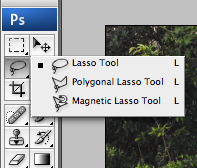

Now just freehand outline around the subject. It doesn’t need to be perfect.
Once you’ve done that, invert the selection. On the menu, go to Select > Inverse.
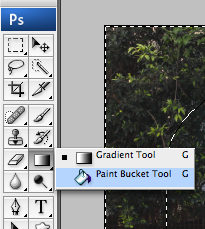
You now want to fill that space in black. Make you have black selected as a color and click on the paint bucket tool.
Fill your inverted selection in black and you should end up with something like this:
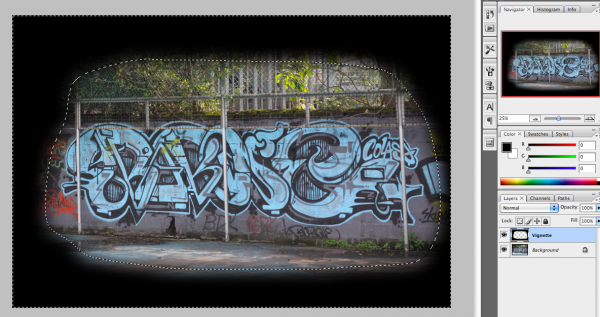
Adjust the Vignette layer opacity between 30-40%. You should now have a softer border, like a vignette effect.
2.) Adjusting the Colors
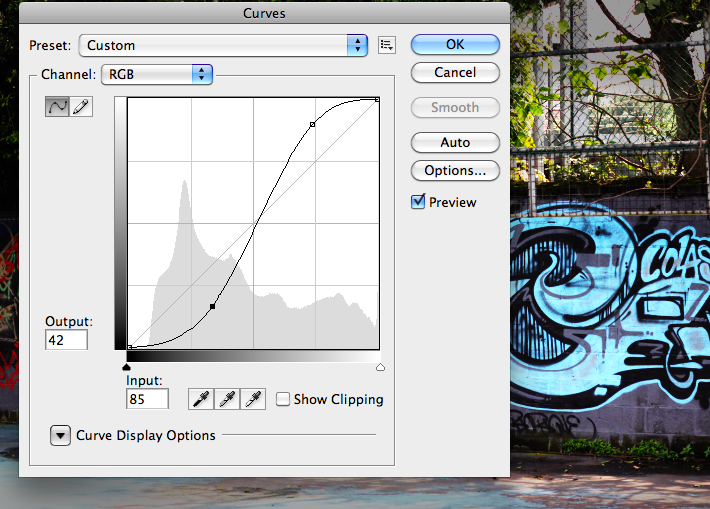
Click on the background layer and create a new Curves layer by clicking on that black and white circle. Call this layer, Lomo Color.

The Curves window will popup. In the RGB channel, just drag that line in an S-shape. You can see in the background that the colors on your photo will just pop.
Click on ‘ok’ to get out of the popup window. Once you’re happy with this, merge all layers by flattening the image.
Layer > Flatten Image
Now create a new layer and call this one “Hue.”
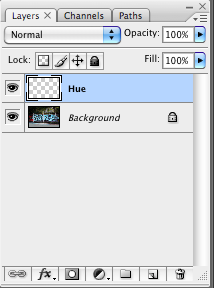
In the Hue layer, get the paint bucket tool out again, have the color on black and just click on the photo. The photo should be completely black so don’t panic.
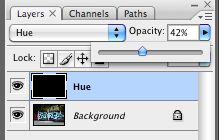
Now, set the blending mode to Hue.
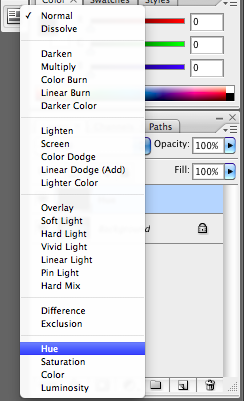
Your photo now should look black and white. Just simply adjust the Opacity level to around the 30-50% mark.
3.) Final Adjustments
Once you’re happy with the steps aboe, you can sharpen the image or even blur it a bit. You can even choose to increase the saturation level until your heart’s content.
And there you have it, a lomo-inspired photo produced in Photoshop:
How did you go with this Photoshop tute? Show us some of your creations!