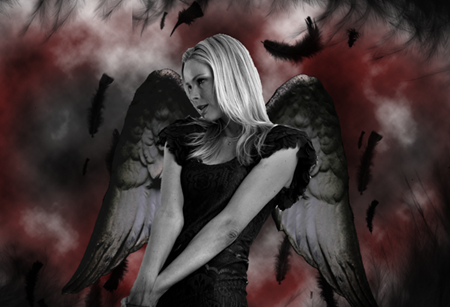
In this tutorial, you will learn how to convert a simple model image to a dark angel in Photoshop. We will be using free online resources in this tutorial to get the effect. Let us get started.
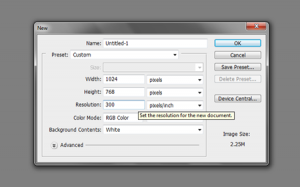
- We start off by setting up the Photoshop document. At this point you need to decide on a few things. Besides setting the dimensions of the document, you also need to decide on the resolution. Depending on your deployment goals, the ideal resolution will change for the document. For print, you will need at most 300ppi, while 72ppi is okay for web graphics. In our example, we are using these document values:
- With the new document open, we will start processing our image. First, we add a light grey background color as a reference color (this will be changed later) using the paint bucket tool. Then, we just copy and paste in our model image to the document. Our image comes from Flickr.
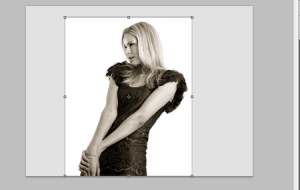
- The next step is to remove the white background from our model image. To do this, we use the “magic wand tool” located in the tools panel under the selection tools. We click on the white background area of our image to select it.
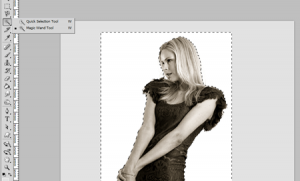
- Then, using the eraser tool, we just remove the white background as needed.
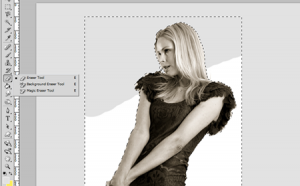
- At this point your image is now ready for the addons to complete our effect. Make sure you save the main document as we will process the wings image next.
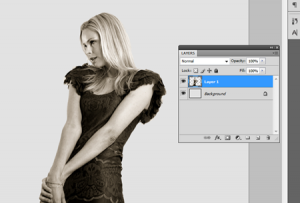
- We now go to the wings image. Open the image in Photoshop and, just like with our main image, we use the magic wand tool to select the background (in this case the black). We then erase it with the eraser tool again.
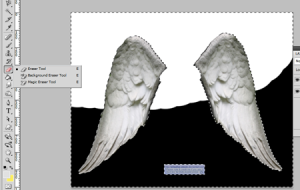
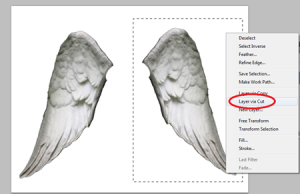
- Next, we split the wings layer into two, for both wings. To do this, we just use the rectangular marquee tool to select the whole area of the right wing. Then, we right click on it and select the option to ‘layer via cut’.
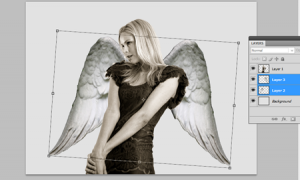
- We then copy and paste both of the wing layers to our main design. To make them match properly we scale them down and rotate them. To do this, just press CTRL+T to enable their transformation. Then click and drag the anchor points as necessary to resize it to scale. We also rotated it a bit to the right to match the shoulders a bit.
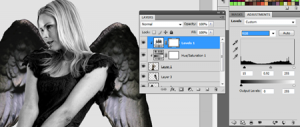
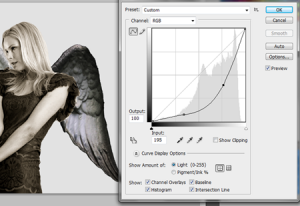
- Great! Now it is time to make things a lot darker for the dark angel style to take effect. To do this , we will use some adjustments. First select one of our winged layers. Then, go to Image -> Adjustments -> Curves. Once the curve graph window opens, adjust the curve until you have something similar to the image. This should boost the contrast of our wing image, giving it that darker feel. Apply the same to the other wing afterward.
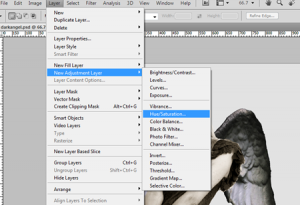
- Next, we work on the model herself. Make sure that you first click on the model layer here. For this effect, we will use a “hue/saturation” adjustment layer. To create adjustment layers just go to Layer -> New Adjustment Layer -> Hue/Saturation…
- Once the new layer is applied, look at the adjustments panel. Adjust the Saturation value to a negative amount. This will depend on how colorful your image is, but in our example we used a -75 value. This removes the colors of our model considerably, making her “darker”.
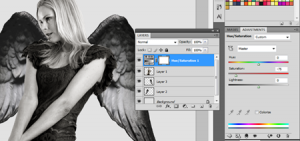
- Now, to apply this adjustment layer only to our model image, right click on the model layer to bring up its context menu. Select the option to “create clipping mask”. This should then apply that adjustment layer only to the layer area directly below it, which in this case is the model.
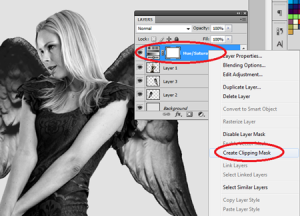
- At this point, we still need to make the model image a bit darker. So we create another adjustment layer on top of the one we created earlier. This time we will use a “levels” adjustment layer. We apply the same clipping mask effect here. Once the new layer is in place, just adjust the center slider a bit to the left to darken our model image further. NOTE that the good thing about these adjustment layers is that you are not permanently committing them to the image layer, so you can adjust and redo what you did without affecting the main image too much.
- Great! Now, before we add any extra effects, we will adjust the positioning of the wings to make it look more natural. We select BOTH wing layers in the layers panel, and then press CTRL+T to activate the transformation feature. Then, we right click on the box and select “perspective”. We then proceed to adjust the bottom right anchor box so that the right wing (when we are looking at it) faces a little bit forward than the left wing. This should give some extra illusion that the wings are naturally attached to our model.
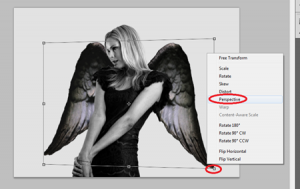
- We then just nudge the left and right wing layers together using the move tool. This should give us the main dark angel model that we are working on. Of course we still have more effects to do. It would be a good idea to save this document now so as you do not lose any of the things we did.
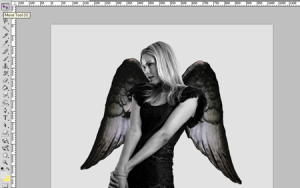
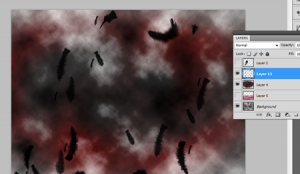
- We will now work on the background. To make the process easier. We first hide all the initial layers we have been working on except the background. Just click on the “eye” icon indicating visibility of a layer in the layers panel and this should hide that layer for now. Then, select the only visible layer, the background layer. Press D and X and then go to Filter -> Render -> Clouds.
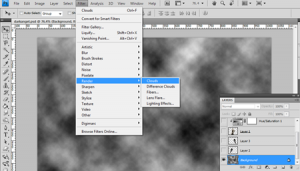
- Next, create a new layer above the background. Just use CTRL+SHIFT+N as the shortcut. Then, using a large brush, we paint in spots of dark red and dark grey in the center of the new layer.
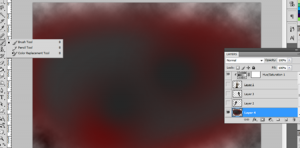
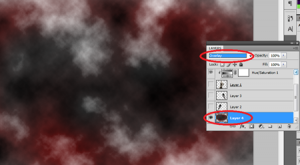
- Then, we change the blend mode of this new layer to “Overlay”. This creatively integrates our color spots to the clouds below.
- To finalize our background effect, we will add some feather effects. To do this, we download the feather brushes for Photoshop from this generous person in deviantart. We then select the brush tool and right click on the canvass. Once the brush gallery appears click on the right arrow icon. A side menu should appear. Click on the option “Load brushes”. Navigate to the file where you download the brushes, select it and you have installed already the brush.
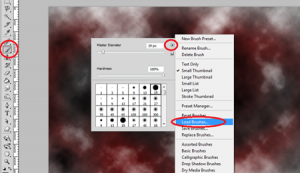
- With the brushes loaded, we are now ready to apply them to our design. First create a new layer by pressing CTRL+SHIFT+N. Then, select the brush tool and then set the brush shape to the feather shape by right clicking on the canvass and then choosing the feather brush from the gallery. With that selected, we black color to brush in a couple of falling feathers. Just vary the size of the brush to get the random feather effect.
- We now make the angel model visible again. It should appear like this:
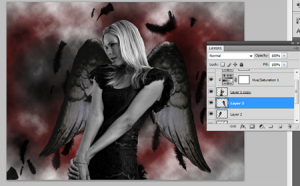
- As the final effect, we create a new layer on top of everything else. Then we enlarge our feather brushes and paint them into the document as its creative borders.
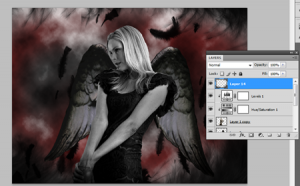
- That finishes our dark angel effect! You can use the same tricks to create cool printed postcards or printed event flyers. Good luck!
