
Selective color is a cool post-processing technique that can really make your subject and photo stand out. You might have seen a photo where one thing might be in color and the rest of the photo is all in monotone (black and white or sepia). Today, I’m going to show you how to achieve this effect in Photoshop by using a quick and easy technique.
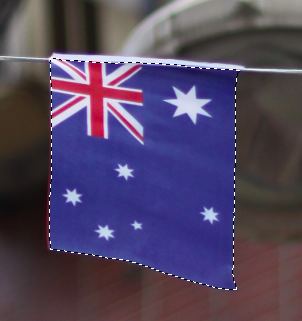
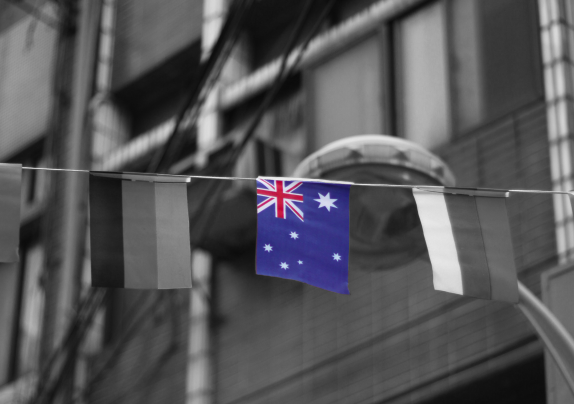
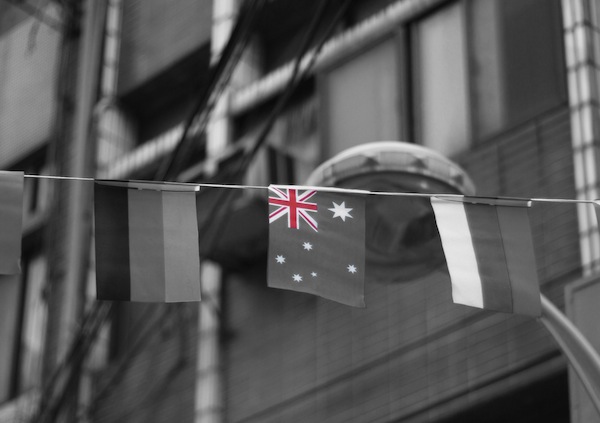
For this photo, I just want the red Union Jack part of the Australian flag to stand out, and the rest I want it to be in black and white.
As you can see, there are other red colors present in this photo, so we need to firstly separate the Australian flag.
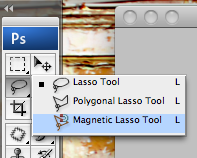
1.) Separate the subject
Use the magnetic lasso tool to select the subject.
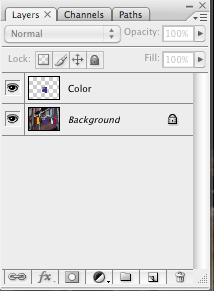
Once you’re done, right click the selection and select Layer via Copy.

Call this layer, Color Layer.
2.) Desaturate the Background layer
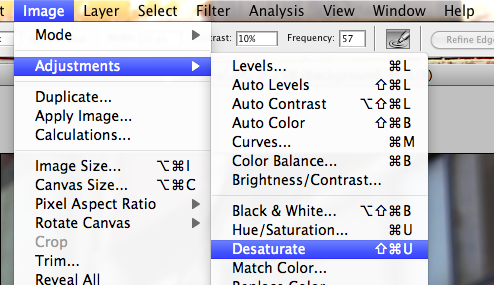
Let’s make everything but the Australian flag black and white. Click on the background layer and desaturate it.
Image > Adjustments > Desaturate
You should end up with something like this:
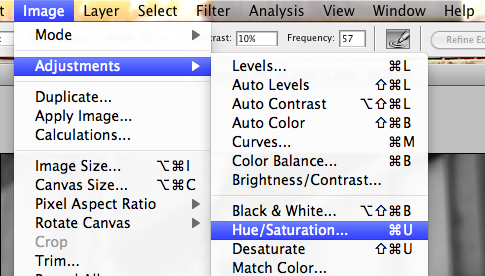
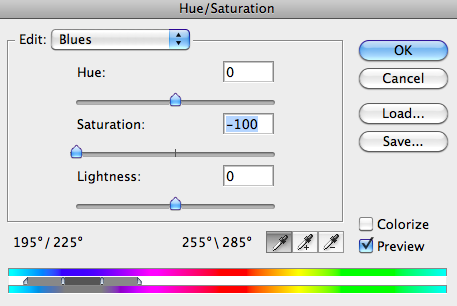
That looks good, but I just want the red Union Jack part to show. So let’s desaturate the blue color. Click on the color layer and go to Hue/Saturation
Image > Adjustments > Hue/Saturation
In the Edit drop down tab, change Master into Blues.
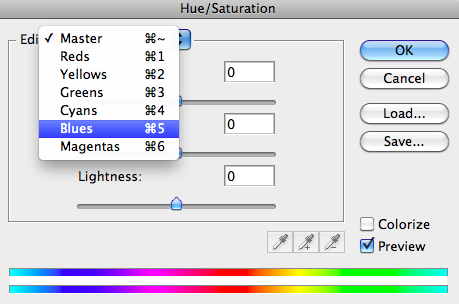
For Saturation, slide that right down to -100.
Flatten the image and you should have a black and white photo with only the red Union Jack showing!


Pingback: Cuisinart Grind & Brew Automatic Coffee Machine DGB600 | Fully Automatic Coffee Maker
Pingback: Causes of Divorce - When Love Isn't Enough | WORDS
Pingback: Get Your Wedding Videoed By Professionals | WORDS
Pingback: 80+ Fresh Articles for Designers, Developers and Freelancers | tripwire magazine