
When you’re capturing a fleeting moment, there usually isn’t time to make sure that your subject is nicely positioned or that the photo is perfectly straight. Thankfully, there is a quick and simple trick in Photoshop that will accurately straighten any photo. All you need is an obvious horizon and two minutes to spare.
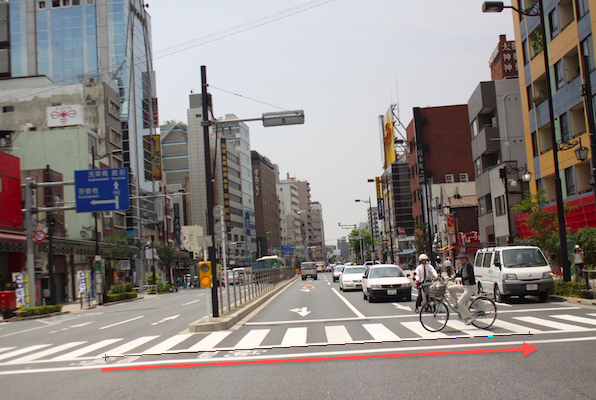
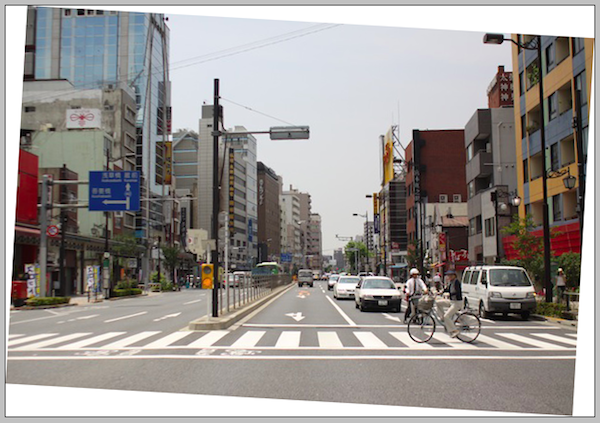
Here’s the photo I’ll be using. It was taken in Tokyo as I was quickly crossing the road. As you can see, it’s definitely skewered and needs some serious straightening.

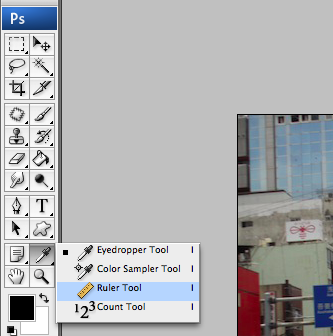
1.) Select the ruler tool
Click on the ruler icon. The ruler tool shares the same icon as the eyedropper tool.
2.) Drag
Drag the ruler tool in a straight line across the horizon you wish to straighten. You can also make a vertical line as well.
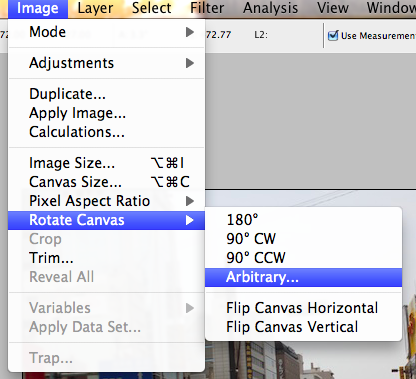
3.) Rotate Canvas
One you’ve drawn the line, click on
Image > Rotate Canvas > Arbitrary
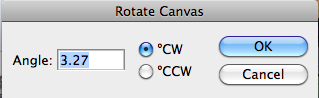
Photoshop will automatically calculate how much the image needs to be rotated. In this case, 3.27 degrees clockwise.
4.) Crop
Your photo probably look something like this:
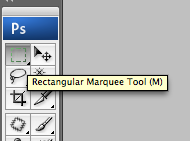
Now you would need to crop it by first making your selection with the rectangular marquee tool.

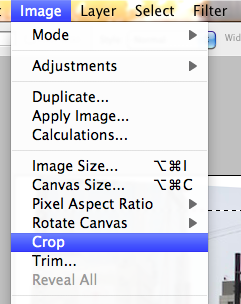
After you’ve done this, simply click on
Image > Crop
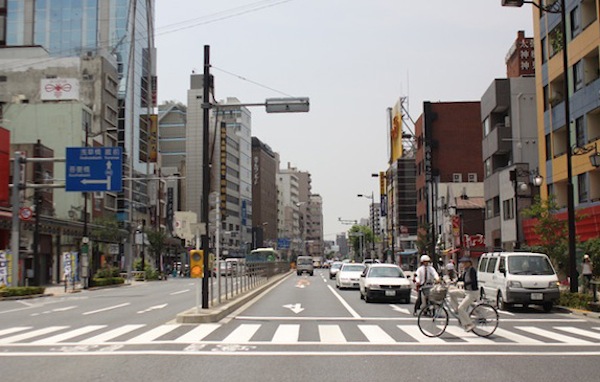
And viola! Here’s the final straightened photo.
Pretty easy right?

