Getting Rid Of Haze In Photos: 5-Minute Quick Fix
You’ve snapped a beautiful scenery shot and everything looks great. Everything but that haze overlay. Sometimes we don’t get to photograph in our ideal, pristine condition where there isn’t any pollution smog, morning fog or dust winds. In an unfortunate case where your photos have been affected by these elements, there is a 5-minute quick fix in Photoshop.
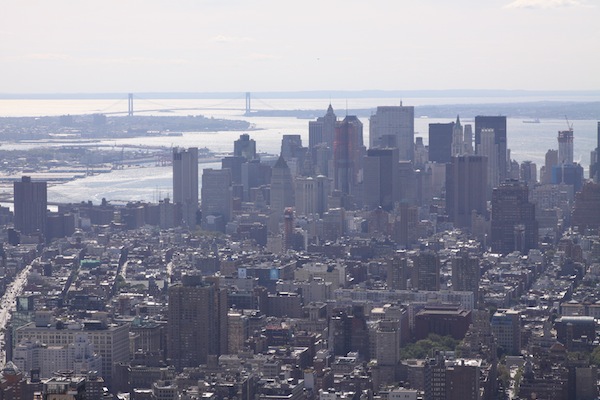
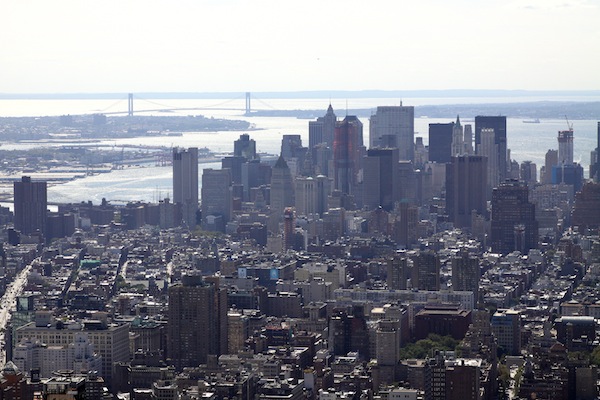
Here’s my image taken on top of the Empire State building in NYC.
1) Adjust the levels: Green, Red and Blue
Firstly, create a new Levels layer in Photoshop.

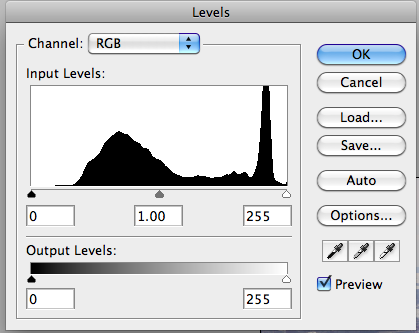
The Levels window will appear. The input levels graph is also known as a histogram. It indicates the ‘brightness’ of the photo by letting you know how many pixels are dark and how many are light. The left of the graph indicates darkness and the right side indicates highlights. Usually we want the histogram to look spread out, meaning a good balance of colors and brightness.
The right spike in my histogram shows that I have this inconsistent brightness, also known as the haze.
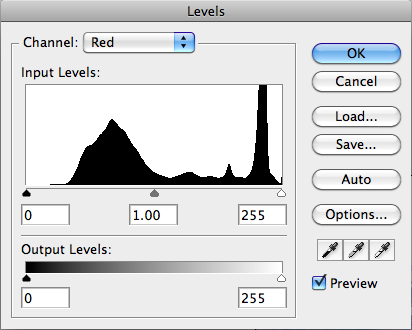
We don’t want to adjust the RGB composite as a whole as that would just be tweaking the brightness levels. In the RGB channel drop down menu, select the Red channel (Ctrl+1).
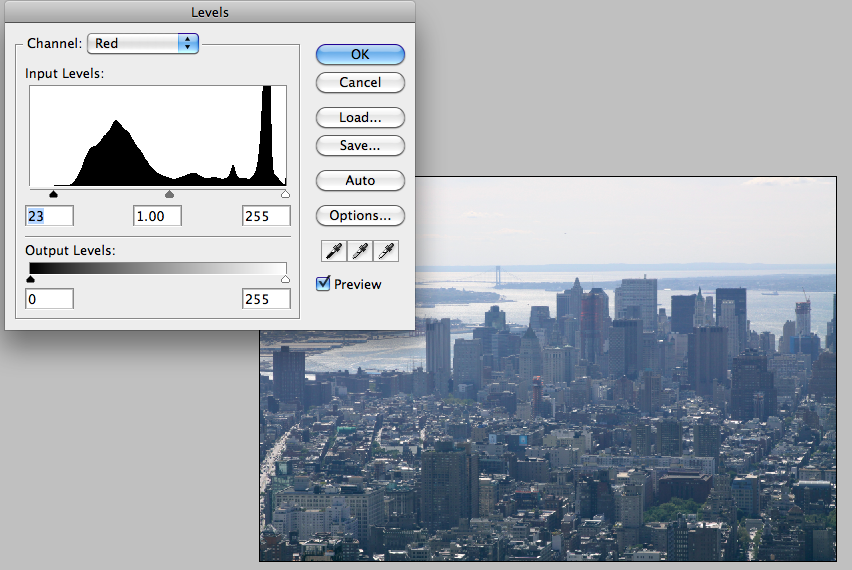
Move the black and white arrows and the bottom of the histogram. The black arrow should be moved to the first point where the graph starts. The white arrow should be moved to where the graph ends. The photo might have a very blue tinge, so don’t worry.
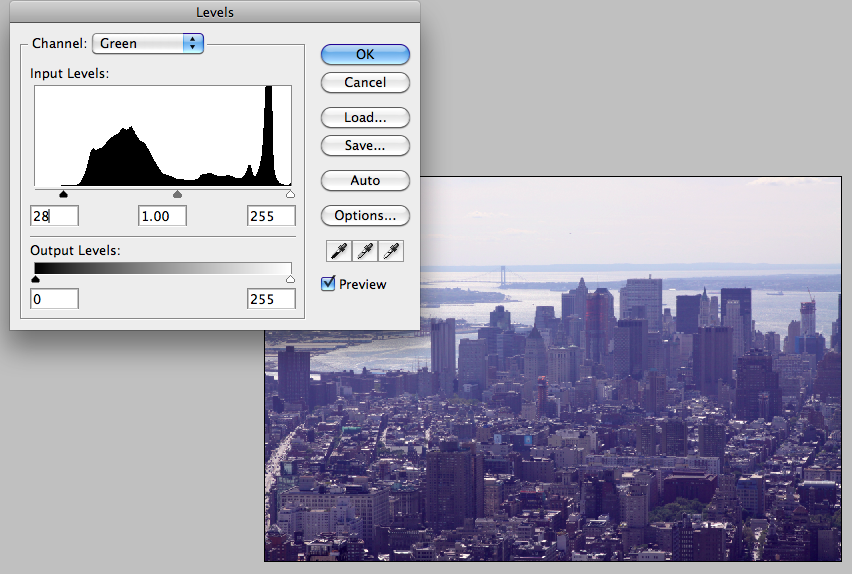
Now click on the Green channel (Ctrl+2) and do the same by moving the black and white arrows.
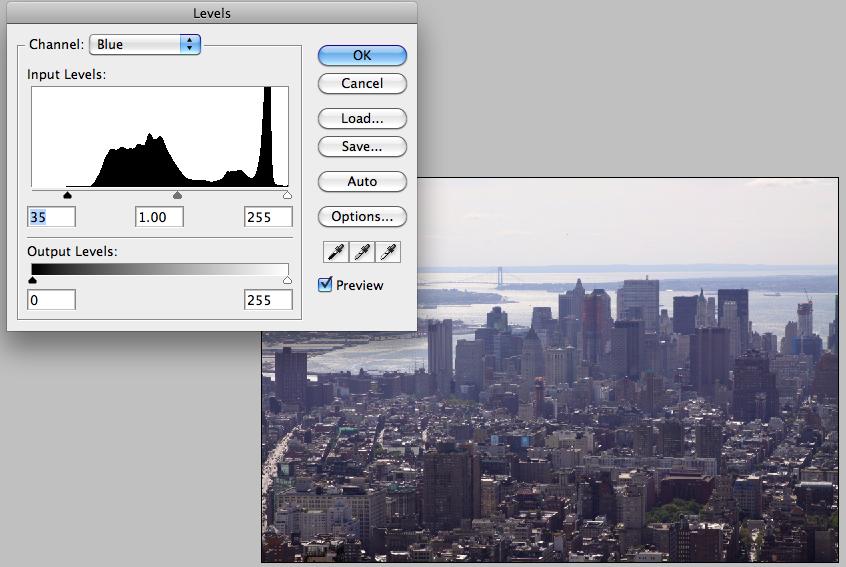
And finally, do the same again to the Blue channel (Ctrl+3)
2) Adjust RGB for brightness and then sharpen
You can slowly start to see the photo taking shape. Currently, my photo looks a bit dark, so I’m going to adjust the brightness and contrast by moving the arrows in the RGB channel. Have a play around with this until you’re happy with it.

Now, simply sharpen the image and you’re done! Sure, it’s not 100% perfect, but it’s a lot better than the original image.
Now:
Before:
The 10 second quick fix
If you can’t spare 5 minutes and want an instant fix, simply click on Auto Levels in Photoshop’s Adjustments. Hey, I wasn’t going to reveal this first!
Do you have any more tips on how to remove haze from photos?