A photo can be that much more powerful when it’s stripped away of its colors. In Photoshop, there are many different ways to convert an image into a black and white, but this tutorial will show you how to use the channel mixer as it’s easy and also provides you with the flexibility.
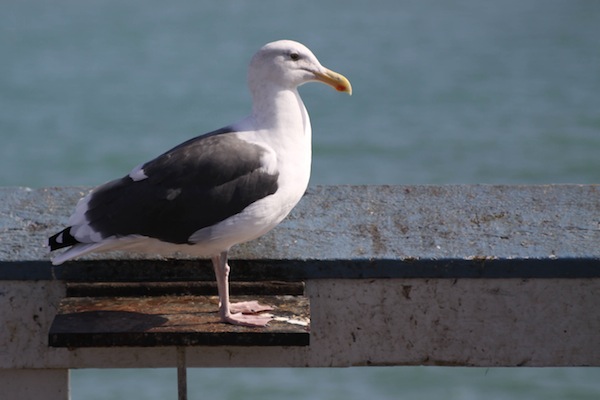
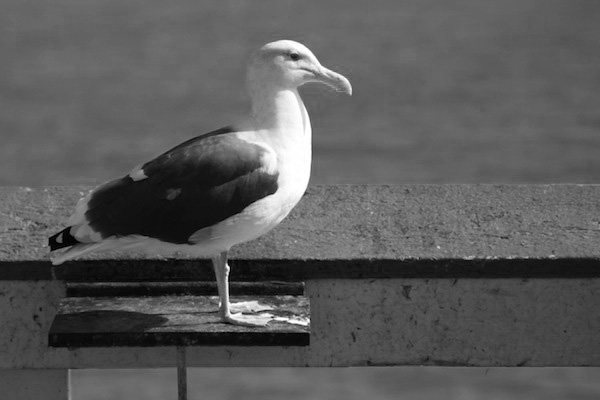
Original pic – Mr. Seagull makes an appearance again! Originally spotted in our Orton effect tutorial.
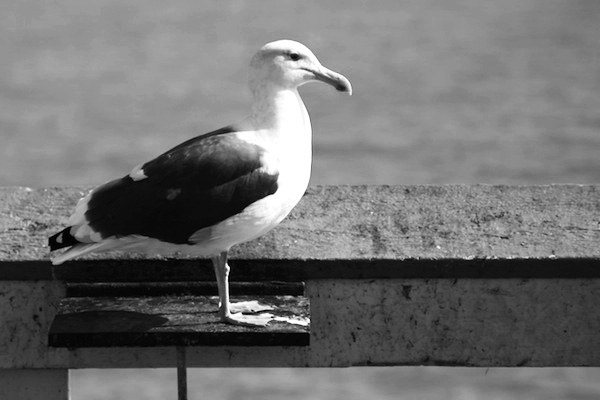
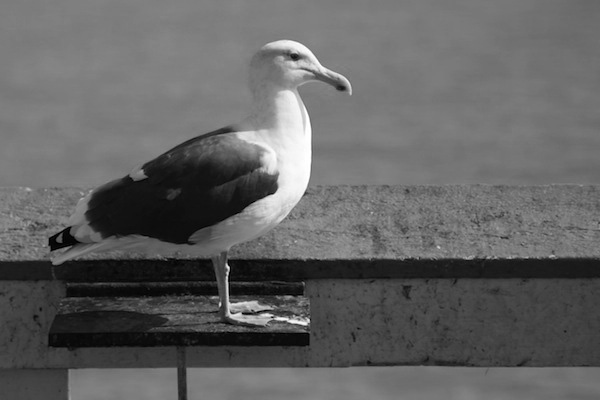
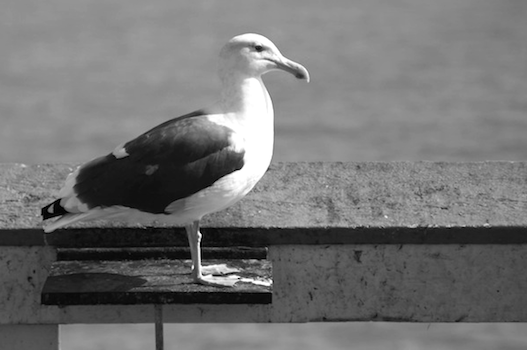
Hitting the desaturate or grayscale button is the lightning fast way to convert any image into a black and white. However, they often don’t produce the elegant, black and white image that’s gallery print quality. Instead of rich blacks and crisp highlights, these quick conversions lead to disappointing murky grays. Here’s what Mr. Seagull looks desaturated:
By spending a few more minutes in the channel mixer, we can produce a more desirable black and white image.

1.) Understanding RGB Channels
A colored RGB image is made up of three channels: Red, green and blue. Each channel holds information about the image’s hue, saturation and luminance. These channels alone are recognized as black and white images in Photoshop. Take a look at the Channel’s tab.
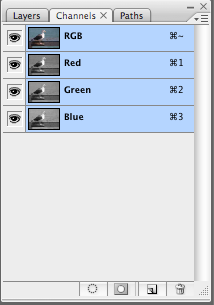
Click on the channels individually. If you like the way it looks, simply remain in the channel and go to:
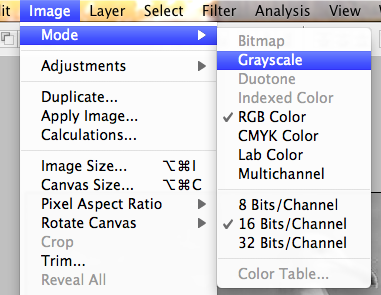
Image > Mode > Grayscale
Red channel darkens the sky and lightens red and yellow hues (like skin tones).
Green channel tends to be a good reflection of the colored photo.
Blue channel has the opposite effect of the red channel. It lightens the sky and darkens yellow and red hues.
2.) Using the Channel Mixer
If you require more flexibility, create a new adjustment layer: Channel Mixer.
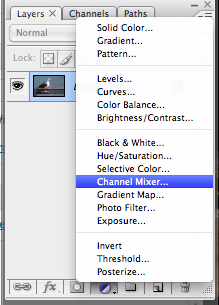
When the window appears, click on the Monochrome option at the bottom of the left hand side.

Play with the sliders and adjust the channels accordingly. There’s no right or wrong and it really depends on the effect you’re trying to achieve and your own personal taste. Having more than 100 percent means a lighter image, whereas lower than 100 percent means a generally darker image.
3.) Final Adjustments
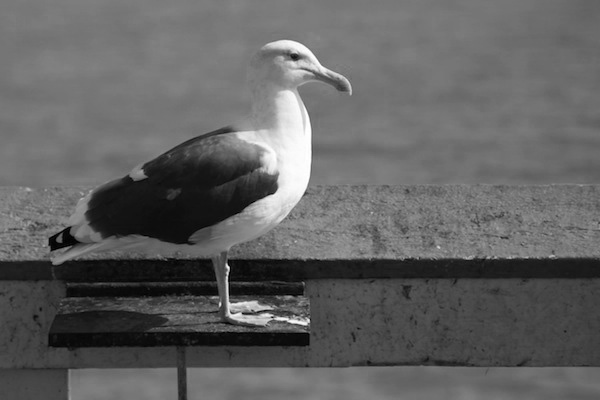
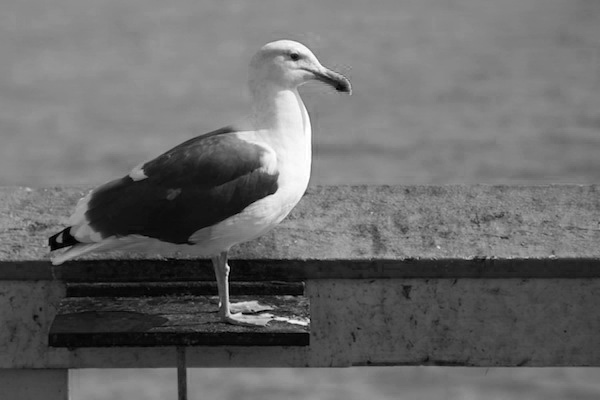
Once you’re happy with the image, you can go one step further and adjust the contrast and levels of the photo as well. I’ve just added more contrast to the photo to deepen the blacks and lighten the whites.
Here’s the final image!